LOOKING CLOSELY AT A DESIGN
Poshak borders and embroidery placement: compare three real archive samples
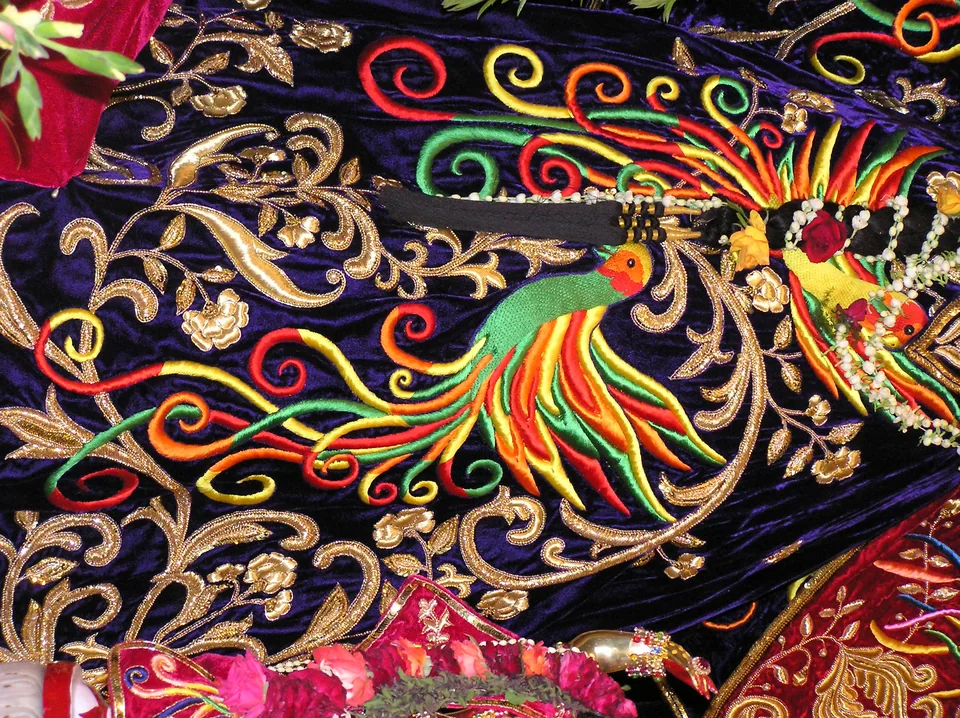
A border can follow the garment’s outer shape, form a repeated band inside it or frame a decorated centre. These archive samples help you describe the arrangement you like, then discuss how it belongs on the actual pieces in your poshak.
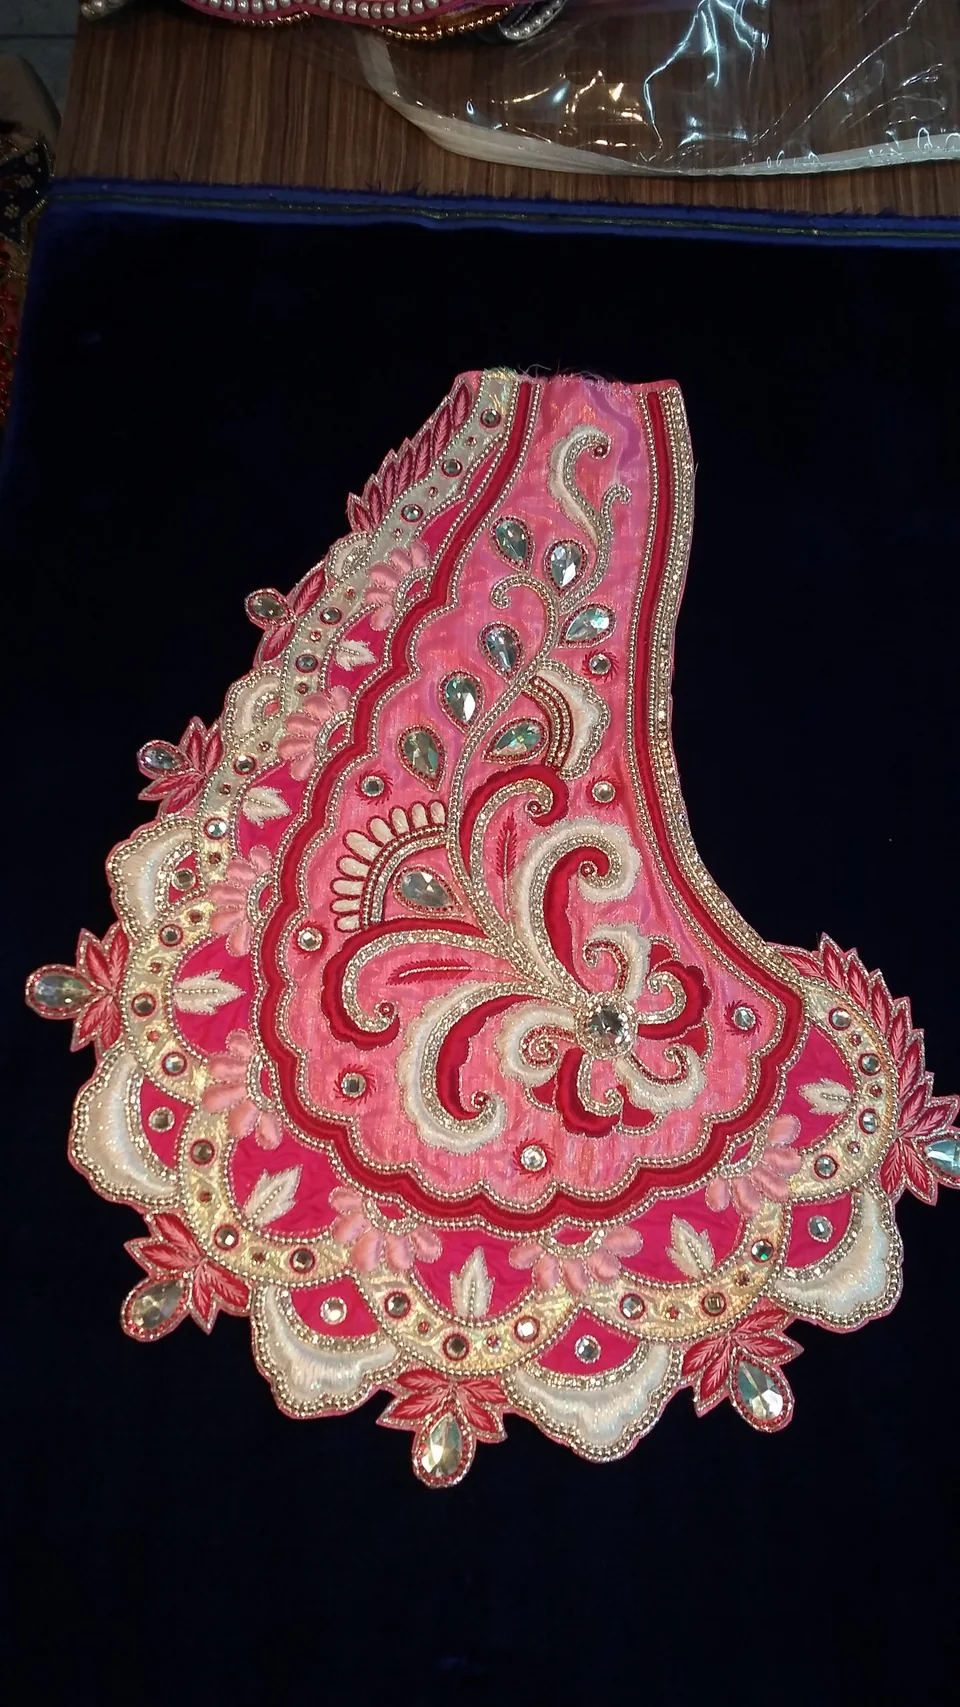
First identify the edge and the area inside it.
When you send a photograph, distinguish the garment outline from the decorative work. Point to the outer edge, any band set inside it, and the centre. “I like the border” can refer to any of those areas; naming the one you mean makes the request clearer.
The photographs here show different sample shapes laid out for viewing. They do not supply the dimensions or fit of a finished outfit. Use the measurement guide for that information, then mark the decorative area you want to discuss on your selected reference.
A scalloped outline makes the edge part of the design.
In the pink cover photograph, repeated rounded details run around the outer curve. Pale scrolling decoration also sits inside that shape. If you like this arrangement, explain whether it is the curved outline, the repeated edge details or the interior scrolls that matter to you.
The curved pink-and-yellow sample below gives a different example: pointed leaf-like details surround the outside. Ask how the proposed outline would relate to your garment’s required length and width, and whether a simpler edge would suit the pieces you already use. A reference photograph alone does not settle those construction decisions.
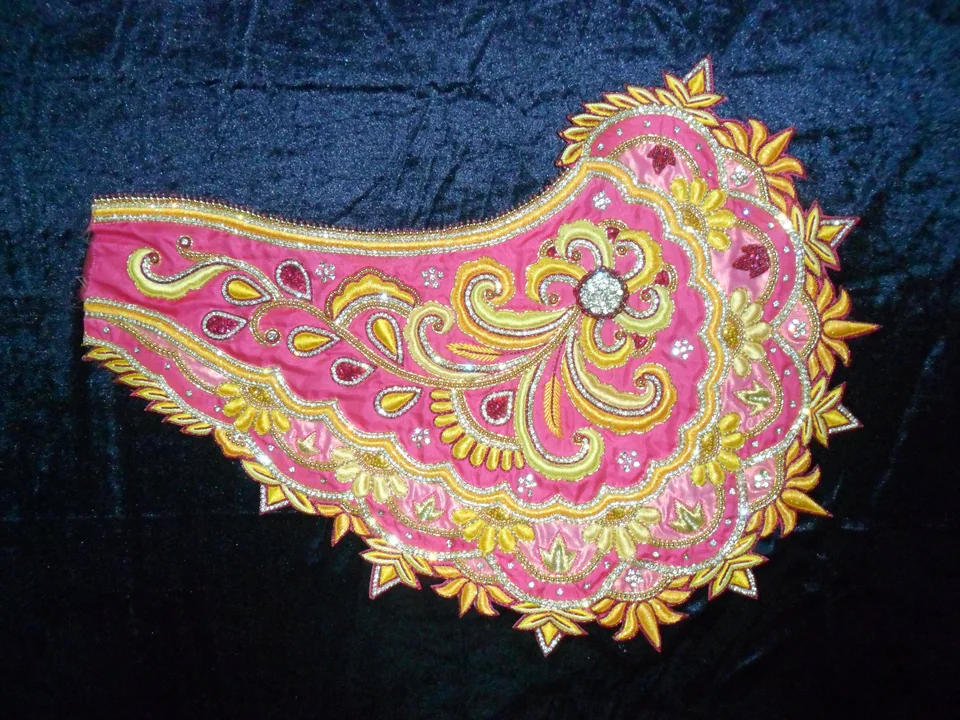
A repeated band can sit inside a simpler outline.
The two rectangular samples below show decorative repeats within a fabric area. The red sample has linked floral bands; the dark sample has stacked outlined diamonds. Their straight outer fabric edges help separate the repeat from the outline.
If this is the detail you prefer, name the repeat and its proposed position: across a lower garment area, along a sleeve or on a separate panel. Ask which placement is suitable for the garment you are commissioning. Confirm the repeat’s size and how much space remains between it and the edge rather than assuming the photograph has the proportions of your deity’s dress.
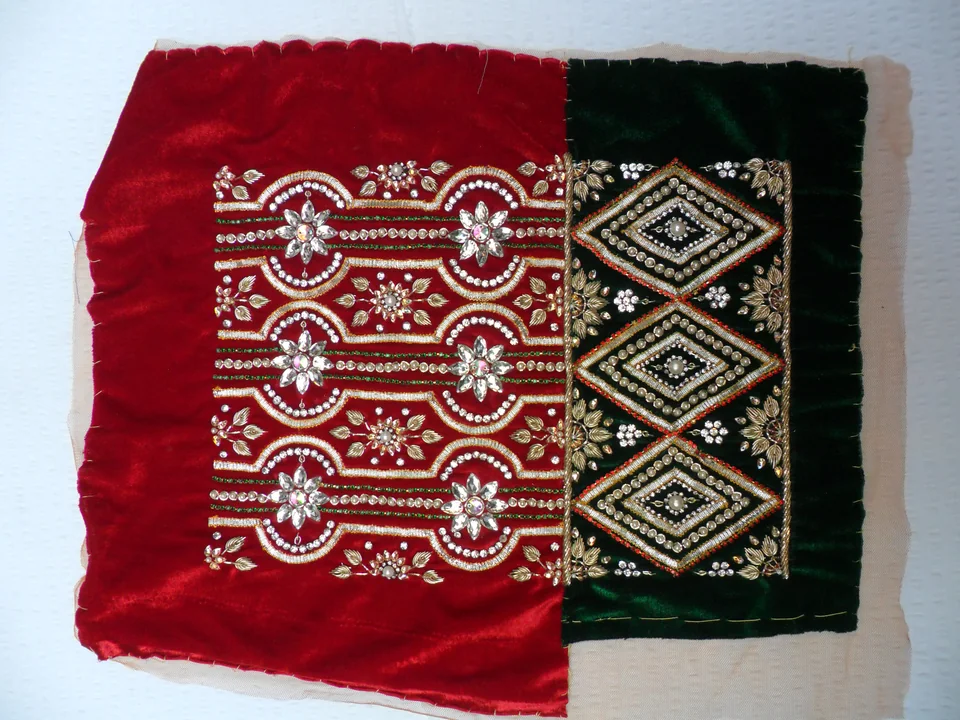
A framed centre lets you describe two areas separately.
The red shaped sample has a pale decorated border enclosing smaller floral scrolls across the centre. You can request the outer framing idea while discussing a different amount of central detail. For example, a hypothetical brief might say: “I like the pale outer frame in this reference; please discuss a more open centre in my chosen colour.”
Identify that as a proposed change, and ask what work and materials the maker suggests. Our quote guide explains why the decorative scope belongs with the garment list. The photographed sample cannot establish the price or fabric composition of your new commission.
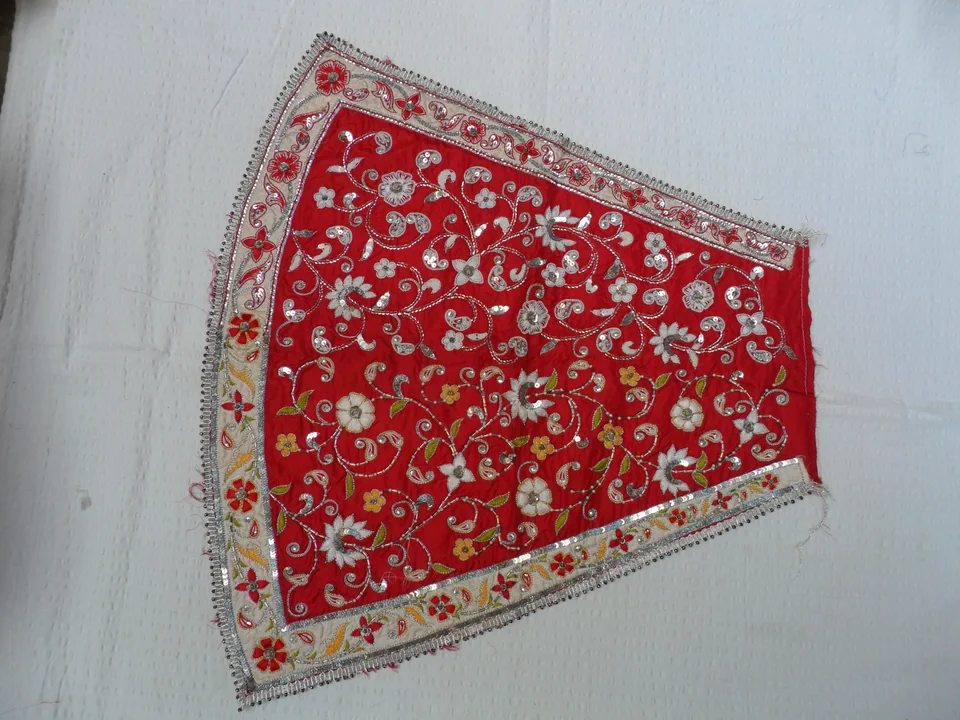
Check the arrangement with the rest of the attire.
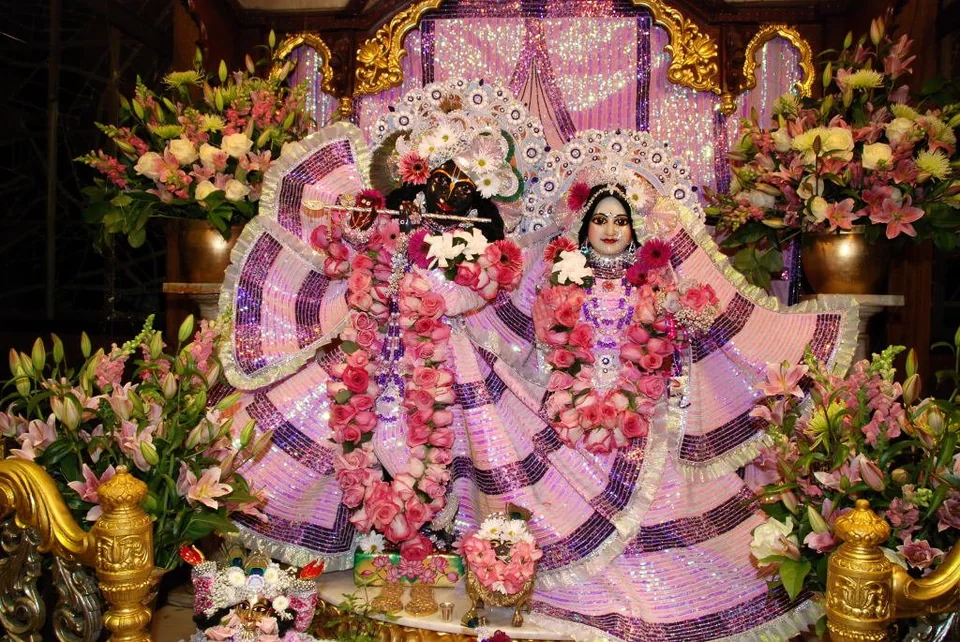
Consider which parts will be visible when the deity is dressed. Share the existing mukut, mala and companion garments you intend to keep, and ask how the chosen border or central motif should relate to them. A close detail explains the decoration; a complete view explains its place in the ensemble.
For a useful first message, choose one reference and write three things: the exact area you like, where it should appear on the requested garment, and the details you want changed. Keep fit information separately labelled. You can select one of our archive references and carry its link into the enquiry draft.
A simple hypothetical note is: “I like the repeated floral band in the red sample. I would like to discuss it along the lower part of the requested garment, with less decoration above it. I will share the garment measurements separately.” Confirm the agreed design, materials, quote and timing directly before commissioning.